Ensuring a Smooth Test Chamber Installation

When testing products against rigorous standards, every detail matters. Unreliable data will cost you time and money as you test and retest in hopes of producing quality results. That’s why you need to practice diligence through the entire lifespan of your test chamber, accounting for its environment and performance.
It starts with finding a reputable manufacturer, one you feel comfortable purchasing a test chamber from and working with throughout its operational lifespan—including installation.
Test chambers are not plug-in, flip-the-switch, and go machines. They’re complex, capital investments that require maintenance and care from the beginning.
When you’ve ordered new test chambers, take the steps necessary to ensure smooth installations. Stay in close communication with the manufacturer and prepare the workspace accordingly.
Preparing for Installation
The most obvious step in the installation process is to decide where the test chamber will be in your lab. It involves understanding local business codes (note: your manufacturer or whoever will complete the installation should know these as well); consulting with team members (R&D and production) and your facilities manager on a location that makes sense for everyone and considers the building power, water, and gas resources available; and accounting for the test chamber’s specifics.
For example, AES’s MX series, a salt spray chamber, needs a constant water source with specific properties, pressure, and a drain. Test chambers with liquid nitrogen (LN2) or carbon dioxide (CO2) boost cooling options require an exhaust to the outside.
Keep in mind, too, that for large walk-in models, loud and spacious condensing and compressing units may be installed outside the building or on the roof to decrease decibels produced by the chamber and save space. Include your facilities manager when you consult with your manufacturer to determine what the work area should look like for your particular model.
At a minimum, the test chamber should sit on a flat, hard surface with appropriate ambient conditions. Test chambers generate heat, and those that rely on temperature cycling need quality air circulation. Choose an area that provides adequate spacing around the test chamber, as well. Although clearance changes depending on the model, some need a range of 18-36 inches of clearance in all directions to produce reliable data.
The other consideration, in addition to space, is the room temperature. It should hover around 23 degrees Celsius (70 degrees Fahrenheit), so your test workspace conditions only change when you want them to. Otherwise, you’ll potentially stress the test chamber as it works harder to regulate its workspace temperature.
Finally, keep the space clean and free of clutter. Give the installation team room to work, and set a good precedent for maintaining a clean, safe work environment throughout the life of your test chamber.
During the Installation
Although the construction of test chambers uses top-of-the-line, durable materials, parts can move around during shipping. Therefore, when they arrive, check for any signs of damage. Even the smallest cracks can grow over time if they’re left untreated.
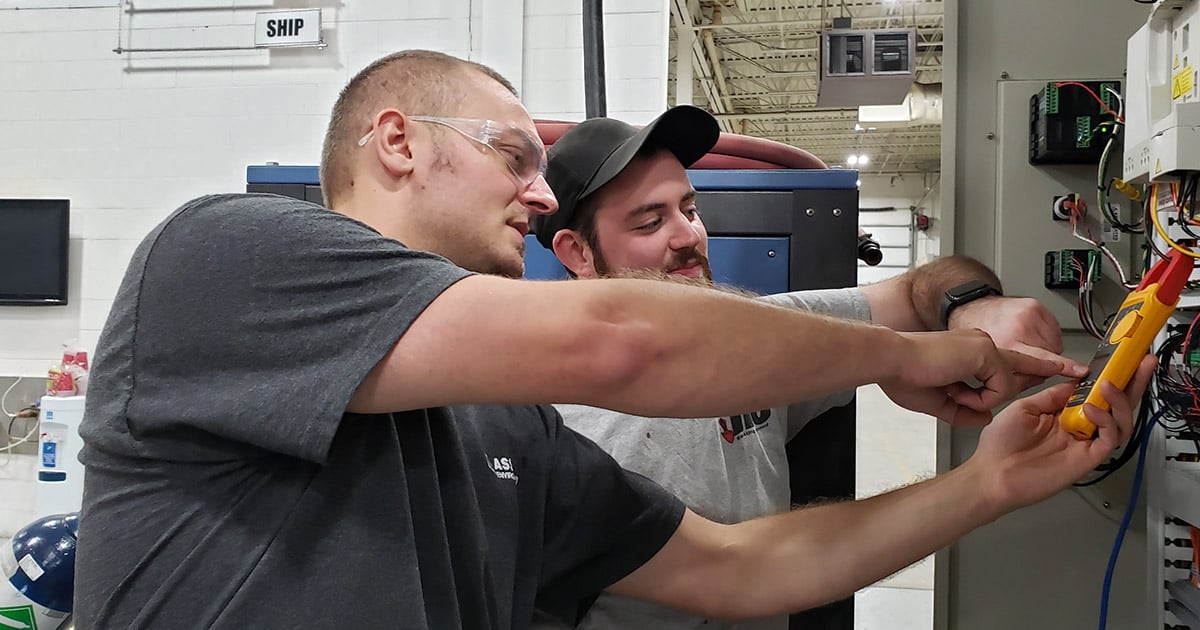
Should you choose to work with your manufacturer during the installation, don’t be afraid to ask questions. It’s a chance to educate yourself about the mechanics of the test chamber with an expert on-site. Pay particular attention to the calibration as it assures you get reliable data. The guidance will serve you well when it comes to performing maintenance later on.
If you’re installing the test chamber on your own, stay strict with the instructions to ensure everything lines up. Then the last step of the installation is arguably the most important one: Make sure the test chamber runs appropriately. Address any perceived issues right away, especially if you have someone from the manufacturer there.
Installation Follow-Up
The first few weeks and months after installation are critical. Manufacturers often offer free replacement parts and services in a warranty period following your purchase. In other words, there’s no excuse not to make immediate repairs before they become expensive problems.
If the test chamber operates as designed, though, it’s a sign installation was done correctly, and you can move into your testing schedule. As good practice, you should still keep your manufacturer in close contact. Regular quarterly and annual maintenance, which includes preventive measures and recalibration, will ensure your test chamber will operate long into the future.
Associated Environmental Systems is pleased to offer test chamber installation services. We work with local moving and rigging companies to assist with the process, and know that our support team is always a phone call or email away.


